DNS Challenge for Kubernetes 📃
Hetzner has changed its DNS service. Use cert-manager-webhook-hetzner now.
I have been running a k3s cluster for some time and now I want to expand my Ingress resource to allow accessing my applications with valid Let’s Encrypt certificates. The DNS Challenge for Let’s Encrypt seems to be the ideal solution for this, as it does not require opening ports to the outside world, thus maintaining the security of my network. In this article, I’ll walk you through step-by-step on how to set up the DNS Challenge for Let’s Encrypt in your k3s cluster, using the Hetzner DNS provider.
Requirements 📋
- k3s cluster
- kubectl
- helm
- DNS provider (In my case Hetzner DNS, the provider must provide the API to change the DNS entries)
Setting up the DNS name 📡
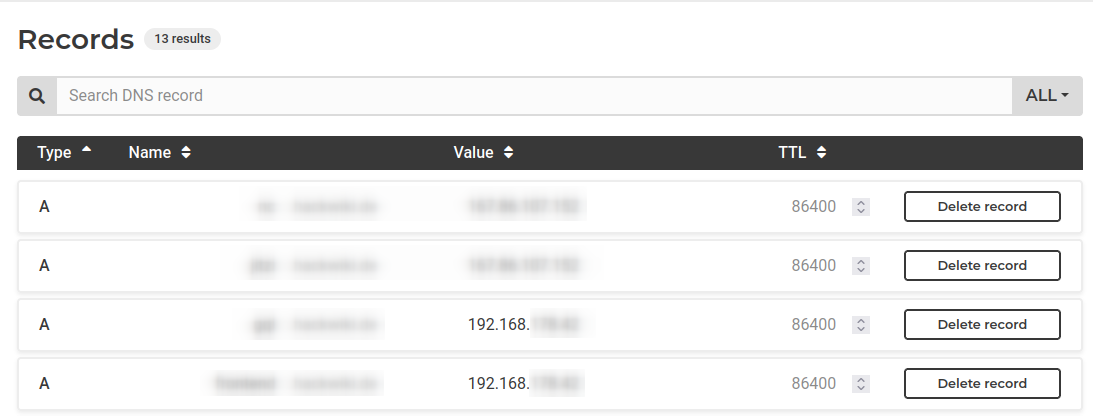
First, we need to create the DNS entries for our domain. These entries can point to a local IP address.
Although this may seem unusual at first and poses a certain security risk in the DNS system - known as DNS rebinding attacks. Most routers provide protection against rebinding, preventing external requests from being forwarded to the local IP address.
To configure the DNS records, you may need to disable the rebinding protection in your router. Please note that you should only enter your domain there, as wildcards can pose a security risk. In the user interface of the Fritzbox, you can find the rebinding protection under:
Home Network -> Network -> Network Settings -> Rebinding Protection
(The DNS entries have been obscured as they are not relevant for this purpose.)
Installing cert-manager
Next, we need to install cert-manager, which is essentially a standard in the Kubernetes world for managing certificates.
kubectl apply -f https://github.com/cert-manager/cert-manager/releases/download/v1.14.4/cert-manager.yamlAn element that’s not entirely standard is the Cert Manager Webook Hetzner project, which enables communication with the Hetzner DNS provider.
To do this, we’ll use helm, a package manager for Kubernetes:
helm repo add cert-manager-webhook-hetzner https://vadimkim.github.io/cert-manager-webhook-hetzner
helm install --namespace cert-manager cert-manager-webhook-hetzner cert-manager-webhook-hetzner/cert-manager-webhook-hetzner --set groupName=hackwiki.de
Creating the Cluster Issuer
Now we need to create a Cluster Issuer that will be used to issue the certificates. The Cluster Issuer will use the Hetzner DNS provider to create the DNS records for the DNS Challenge.
Create a file named cluster-issuer.yaml with the following content:
---
apiVersion: cert-manager.io/v1
kind: ClusterIssuer
metadata:
    name: letsencrypt
spec:
    acme:
        server: https://acme-v02.api.letsencrypt.org/directory

        email: *************

        privateKeySecretRef:
            name: letsencrypt

        solvers:
            - dns01:
                  webhook:
                      groupName: **********
                      solverName: hetzner
                      config:
                          secretName: hetzner-secret
                          zoneName: *********
                          apiUrl: https://dns.hetzner.com/api/v1
Replace the placeholders with your data. The server URL must be the address of the ACME server. You can find the URL for the test server in the project’s Readme (Cert Manager Webhook Hetzner). This is also useful if you don’t want to exceed Let’s Encrypt’s rate limit during testing. For production systems, you should change the URL to the normal Let’s Encrypt server.
To communicate with the Hetzner DNS provider, we need to store the API key in a secret. Create a file named hetzner-secret.yaml with the following content:
---
apiVersion: v1
kind: Secret
metadata:
    name: hetzner-secret
    namespace: cert-manager
type: Opaque
data:
    api-key: ***************************
Apply the files to your cluster:
kubectl apply -f cluster-issuer.yaml
kubectl apply -f hetzner-secret.yaml
Creating the Ingress resource
Before we create the Ingress resource, we need to create a certificate. Create a file named certificate.yaml with the following content:
---
apiVersion: cert-manager.io/v1
kind: Certificate
metadata:
    name: foobar-cert
    namespace: *********
spec:
    commonName: foobar.**********
    dnsNames:
        - foobar.**************
    issuerRef:
        name: letsencrypt
        kind: ClusterIssuer
    secretName: foobar-cert
Replace the placeholders with your data. Apply the file to your cluster:
kubectl apply -f certificate.yamlNow you can create your Ingress resource. Create a file named ingress.yaml with the following content:
---
apiVersion: networking.k8s.io/v1
kind: Ingress
metadata:
    name: foobar-ingress
    namespace: *******
    annotations:
        cert-manager.io/cluster-issuer: letsencrypt
spec:
    ingressClassName: traefik
    rules:
        - host: foobar.***********
        - http:
              paths:
                  - path: /
                    pathType: Prefix
                    backend:
                        service:
                            name: foobar-service
                            port:
                                number: 80
    tls:
        - hosts:
              - foobar.************
          secretName: foobar-cert
And now you can create the Ingress resource:
kubectl apply -f ingress.yamlHere, the certificate for the domain foobar.********** is created.
And reach your application via https://foobar.************.
Conclusion 🎉
With the DNS Challenge for Let’s Encrypt, you can easily secure your applications with valid certificates without having to open ports to the outside world. This way, you can maintain the security of your network and still provide your users with a secure connection.
